Portal Test Chamber 04: Difference between revisions
Jump to navigation
Jump to search
Wheatley404 (talk | contribs) m added how you can trap yourself. |
m →trapping yourself: cleaned up a bit for a higher quality |
||
| Line 33: | Line 33: | ||
* Proceed to the [[Chamberlock]]. | * Proceed to the [[Chamberlock]]. | ||
}} | }} | ||
== | == Trapping yourself== | ||
As a matter of fact, it is possible to trap yourself in this chamber. | |||
* | *First, take down both cameras in the testing area. | ||
* | *Then, open the door with the cube. | ||
* | *Put the cameras in a position to keep the door open. | ||
* | *Move the cube off the button. | ||
* | *Throw the cube through. | ||
* | *Stand on and off the button. | ||
* | *You have now trapped yourself and GlaDOS is forced to bring you another cube. | ||
== Video walkthrough == | == Video walkthrough == | ||
Revision as of 03:50, 16 June 2020
 | “I can't get over how small you are!” This article is a stub. As such, it is not complete. You can help Portal wiki by expanding it. |
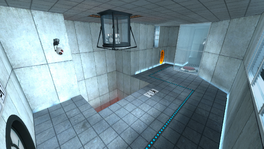
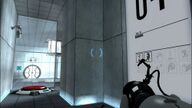
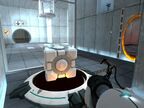
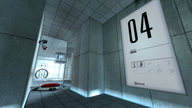
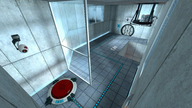
This Test Chamber is the fifth level of the game, and combines the basics of portal placement and the use of the Weighted Storage Cube.
Hazards
Walkthrough
- Approach the cube dispenser to activate it.
- Place a portal underneath the Weighted Storage Cube in the pit.
- Collect the cube and place it on the button.
- Proceed to the Chamberlock.
Trapping yourself
As a matter of fact, it is possible to trap yourself in this chamber.
- First, take down both cameras in the testing area.
- Then, open the door with the cube.
- Put the cameras in a position to keep the door open.
- Move the cube off the button.
- Throw the cube through.
- Stand on and off the button.
- You have now trapped yourself and GlaDOS is forced to bring you another cube.
Video walkthrough
Gallery
|


