Portal 2 Chapter 3 Test Chamber 12: Difference between revisions
Jump to navigation
Jump to search
m Template update. |
No edit summary |
||
| Line 3: | Line 3: | ||
{{Test Chamber Infobox | {{Test Chamber Infobox | ||
| title = Chapter 3 - Test Chamber 12 | | title = Chapter 3 - Test Chamber 12 | ||
| valve-title= Bridge the Gap | |||
| map = sp_a2_bridge_the_gap.bsp | | map = sp_a2_bridge_the_gap.bsp | ||
| dirty = 1 | | dirty = 1 | ||
Revision as of 06:40, 2 March 2013
 | “I can't get over how small you are!” This article is a stub. As such, it is not complete. You can help Portal wiki by expanding it. |
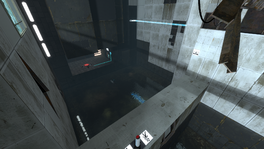
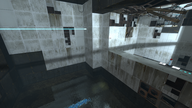
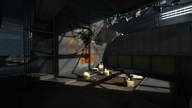
This is the twenty-second level of the game, and is set within a dilapidated Test Chamber. This level features the Hard Light Bridge, and includes Goo as its primary environmental hazard. The Test Chamber also includes a Rat Man Den. Wheatley also makes an appearance at the start of the level.
Hazards
Walkthrough
- Go near the panels on the floor and wait for GLaDOS to talk to the door mainframe.Then go through the door and look at the Hard Light Bridge on the left.
- Fire a portal above it and the other on the wall in front of you and go through the portal.
- Place the first portal on the end of the Bridge and go through the portal.
- Press the Switch and look at the falling Weighted Storage Cube. Fire the second portal on the wall, so it blocks the falling Cubes from falling into the Goo.
- Pick up the Storage Cube and proceed to go through the portal.
- Put a portal on the wall facing the exit-area to get a Bridge there.
- Place the Storage Cube on the button and go into the Chamberlock.
Video walkthrough
Gallery
|


