|
|
| (One intermediate revision by the same user not shown) |
(No difference)
|
Latest revision as of 10:02, 12 January 2023
 | “這只是一個思考實驗,看看你會浪費多少時間去想這些無用的文件。正確說來,時間是零秒。”
這個地方可能會導致嚴重劇透。
您可以按下頁面上方的防止劇透(Spoilers)按鈕來擋住劇透內容。不過,被黑線擋住的內容仍舊可以透過反白文字來觀看。
|
This article is under translation. 本條目現正進行翻譯。
This is the Traditional Chinese version of article Doug Rattmann. If you wish to edit the Simplified Chinese version, please go to Doug Rattmann/zh-hans. 本條目是Doug Rattmann的繁體中文版本。如慾編輯本條目的簡體中文版本,請前往Doug Rattmann/zh-hans。

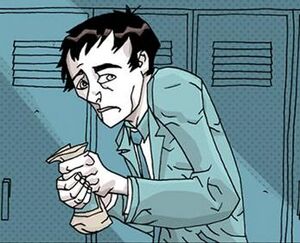
Doug Rattmann after the events of
Portal, as seen in the
Lab Rat comic.
| “ |
Reality is a story the mind tells itself. An artificial structure conjured into being by the calcium ion exchange of a million synaptic firings. A truth so strange it can only be lied into existence. And our mind can lie. Never doubt it...
— Doug Rattmann
|
” |
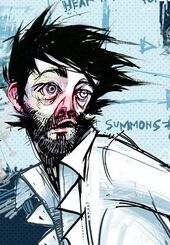
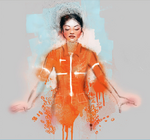
Doug Rattmann, commonly nicknamed as the Rat Man, was a scientist at the Aperture Science Enrichment Center. Prior to the events of Portal while GLaDOS began flooding the entire facility with neurotoxin, Rattmann is the only known employee to have survived. A paranoid schizophrenic, he is dependent on anti-psychotic medication as a means of keeping him sane.
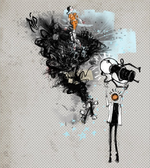
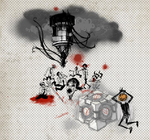
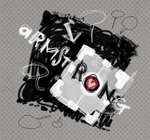
Rattmann does not appear in-game in any form, instead leaving behind paintings and murals which can be found throughout the backstage of various testing chambers in Portal and the single-player campaign of Portal 2.
Overview
Portal 2: Lab Rat

Rattmann as he appears in the
Lab Rat comic, prior to the events of the
Portal series.
In the Portal 2: Lab Rat comic, he is revealed to be an Aperture Science employee who worked on the Handheld Portal Device.[1] He expresses doubts about GLaDOS and the effectiveness of a morality core, remarking "You can always ignore your conscience".[2] His fears turn out to be justified when she poisons all the staff in the Enrichment Center with neurotoxin upon activation during the company's Bring-Your-Daughter-To-Work Day.
Prepared for the outcome, he survives the initial attempts to kill him and proceeds to sneak through parts of the facility, avoiding GLaDOS who is actively hunting him. Acting on a 'hunch', he breaks into the test subjects' filing room and arranges Chell's name to the top of the test subject roster,[3] leading to the events in Portal.
Portal

Crude bed that can be found in most of Rattmann's dens.
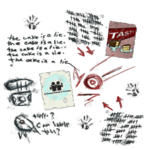
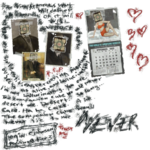
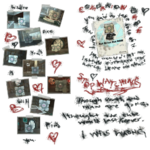
Delusional, running low on medication and traveling with what he sees to be a talking Weighted Companion Cube, he watches from the shadows as Chell is put through GLaDOS' testing course. Although he is never spotted in-game in any of the playable Portal series, his refuge areas (referred to as dens) can be found by Chell, containing crude bedding, empty cans of beans and scribblings and dioramas on the walls. It is in one of these dens that the warning phrase "The cake is a lie" can be found scribbled on a wall; as GLaDOS continually promises that there would be cake at the end of testing.
Following Chell's conflict with GLaDOS after her escape from the testing tracks, the Lab Rat comic details Rattmann's point of view after the events of Portal in which he follows the sound of the explosion and finds a route to the outside world after the destruction of GLaDOS. His joy is short lived as he witnesses an unconscious Chell being dragged back into the facility by the Party Escort Bot. Feeling guilt, as it was his actions that resulted in her being the first test subject, he once again enters the facility and finds Chell has been put in long-term cryogenic relaxation.[4] Finding out that Chell's Relaxation Chambers is offline due to the downfall of GLaDOS, the overall facility operator, he proceeds to save Chell's life by unplugging all other available chambers from their cryogenic supply and into hers. He is injured in the process when he is shot by Turrets that are still left in nearby test chambers.[5] He then submits himself into Chell's cryogenic stasis bed found in the Relaxation Vault previously used in the events of Portal, and falls asleep in it.
His fate is left unknown as the entire bed with him is nowhere to be found when Chell later revisits this Relaxation Vault at the beginning of the single-player campaign in Portal 2.
Portal 2
During the events of the single-player campaign of Portal 2, Rattmann's fate is left unknown. Whether or not he is dead is left up to debate, as Chell's cryogenic stasis bed that she used before the events of Portal he took refuge in, had disappeared entirely.

A Rattmann den during
Portal 2's single-player.
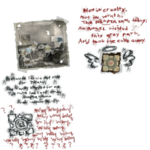
All that is left of him in Portal 2, like in the first game, are wall scribblings and various dioramas depicting either what he witnessed or simply what he feels like expressing.
Rattmann's graffiti work makes no appearances whatsoever during the course of the game's Cooperative Testing Initiative. However, a Weighted Companion Cube can be spotted by Atlas and P-body in the last test of Course Four: Excursion Funnels. The cube is apparently attached to a Core Receptacle, indicating that it may in fact be as sentient as any other Cores in the series.
At some point in the events of the Perpetual Testing Initiative, in which the player takes role of stick figure Bendy - is shifted into a variety of alternate universes at the Enrichment Center as a means of still having Cave Johnson as ongoing CEO. There is a universe in which Cave and Rattmann were born with switched bodies. In this universe, Cave (in Doug's voice and body) hijacks the intercoms to yell out and warn everyone that Rattmann (presumably in Cave's body and handling the company typically as the real Cave would) is embezzling from the staffs' paychecks.
Known dens
Aside from leaving paintings, murals and messages behind, Doug Rattman also discovered a number hidden rooms in Aperture Science. He adorned these rooms with messages and artwork, and primarily used them as refuges in order to escape GLaDOS' scrutiny. The hidden rooms are present in both Portal and Portal 2, and are known as the Ratman's Dens. A total of 12 have been discovered, 5 in Portal and 7 in Portal 2.
|
Den locations in Portal:
|
|
Den locations in Portal 2:
|
|
Gallery
| Graffiti in Portal |
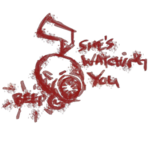
| Warning Chell about GLaDOS' trick.
|
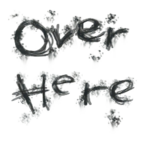
| Rattmann asking for something.
|
| Another warning about the cake.
|
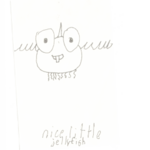
| Confusing scrawling in the office.
|
| Helping lead Chell through her escape.
|
|
| Graffiti in Portal 2 |
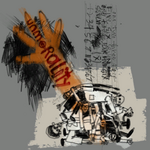
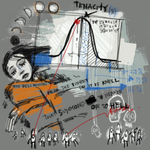
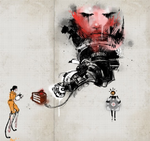
| One of Rattmann's dioramas drawn on a wall.
|
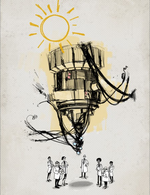
| Depicting the personnel killed by GLaDOS.
|
| Depicting Chell and her behavioral statistic.
|
| One of Rattmann's less intelligible dioramas.
|
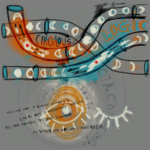
| Ditto, with the Tubes drawn.
|
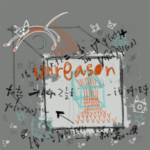
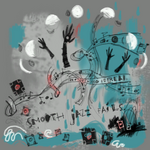
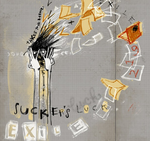
| Rattmann trying to express himself.
|
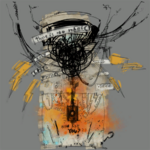
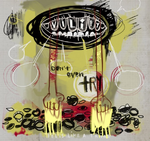
| Rattmann, apparently trying to describe his hallucinations.
|
| Depiction of Chell just before the battle with GLaDOS at the end of Portal.
|
| Depiction of the development of GLaDOS.
|
| Rattmann trying to express himself.
|
| Rattmann rejoicing with Chell's Portal Gun after GLaDOS is destroyed in Portal.
|
| Depiction of GLaDOS killing off the staff with neurotoxin.
|
| Rattmann tying references on the Companion Cube being the first of its kind on the moon.
|
| Rattmann depicting Chell during her short term stasis before the events of Portal.
|
|
Trivia
- Doug Rattmann was behind the Aperture Image Format, used in the Portal ARG.
- He can be heard rambling in certain locations of his dens in Portal 2.
- His voice also can be heard in Portal 2 OST during track "Ghost of Rattman"
- In both of the above situations, his voice actor is unknown.
References
See also

