Aperture Tag: The Paint Gun Testing Initiative Chapter 1 Intro: Difference between revisions
Jump to navigation
Jump to search
m (p l u r a l) |
m (→Mechanics: This game only contains autoportals, so I added a note and changed the link.) |
||
| Line 32: | Line 32: | ||
* [[Weighted Storage Cube]] | * [[Weighted Storage Cube]] | ||
* [[Buttons]] | * [[Buttons]] | ||
* [[Portals]] | * [[Portal Spawner|Portals]] ''(NOTE: Aperture Tag has no available Portal Gun, so every time we're referring to [[Portals|portals]] here, we're actually referring to the [[Portal Spawner|Portal Spawners]] that appear in the test chamber to spawn the portals.)'' | ||
* [[Hard Light Bridge]] | * [[Hard Light Bridge]] | ||
* [[Aerial Faith Plate]] | * [[Aerial Faith Plate]] | ||
Latest revision as of 17:49, 18 September 2021
 | “I can't get over how small you are!” This article is a stub. As such, it is not complete. You can help Portal wiki by expanding it. Add a video walkthrough. |
This is the first level of the game, acting as a brief tutorial level.
Purpose
This test chamber intends to introduce the player to the world of Aperture Tag, as well as the basic controls should the player happen to be playing this as their first game in the Portal series.
Contents
Mechanics
- Excursion Funnel
- Weighted Storage Cube
- Buttons
- Portals (NOTE: Aperture Tag has no available Portal Gun, so every time we're referring to portals here, we're actually referring to the Portal Spawners that appear in the test chamber to spawn the portals.)
- Hard Light Bridge
- Aerial Faith Plate
- Discouragement Redirection Cube
- Pneumatic Diversity Vent
Hazards
- Falling to Death
- Turrets
- Thermal Discouragement Beam
Walkthrough
- After the cutscene and after Nigel opens the door, walk out of the room you're in.
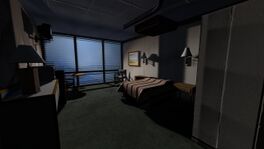
- Walk to your right to see the room Chell wakes up in at the start of Portal 2. Nigel will soon fold it into the room though, akin to F-Stop.
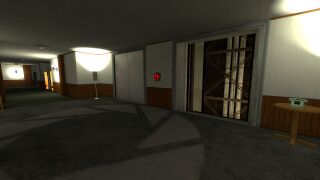
- Walk out of the room, and then to your left. Follow the corridor until you reach the elevator.
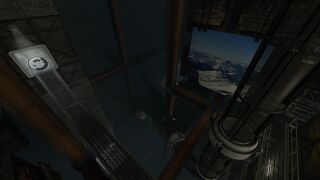
- Press the button, then jump down the open elevator shaft.
- Jump down to the plank to your left, then turn around and jump over the gap, to the catwalk.
- Follow the catwalk to the Excursion Funnel, then jump into it.
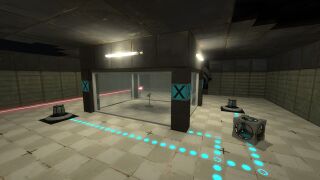
- Fall down into the half-broken test chamber below where the funnel ends.
- Grab the Weighted Storage Cube and place it on the button.
- Walk across the Hard Light Bridge that has just activated.
- Push the Pedestal Button, and walk through the portal, into another Excursion Funnel.
- Fall down where it ends.
- Fling the Turrets off of the platform, then take the Aerial Faith Plate.
- Redirect the Thermal Discouragement Beam to its receptacle and the relays with the Discouragement Redirection Cubes.
- Grab the Paint Gun. The Pneumatic Diversity Vent will take you to the next chamber.
Gallery
|
| |||||||||||||||||||||||||||||||||||||||||||||||||||||||||||||||||||||||||||||||||||||||


